
Installation Process
Carbon Fiber Support’s installation process is simple and easy to follow. If you are a professional in the industry or plan to install it yourself the straightforward steps below are all you will need to complete your job or project of permanently stabilizing, supporting, repairing concrete cracks, and supporting foundations.
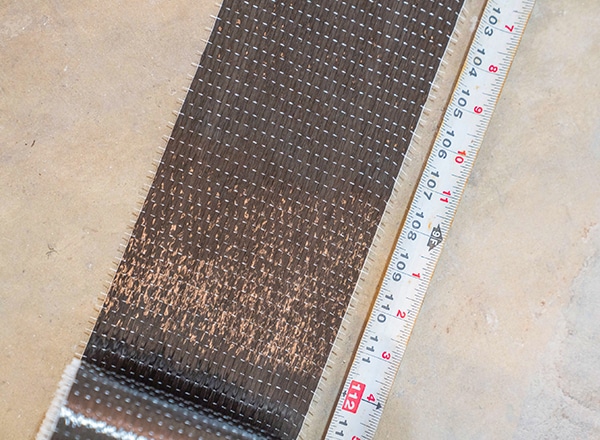
1. Carbon Fiber Layout
- Determine placement of Carbon Fiber Support based on engineer specifications.
- Typical Layout is 48” on center spacing.
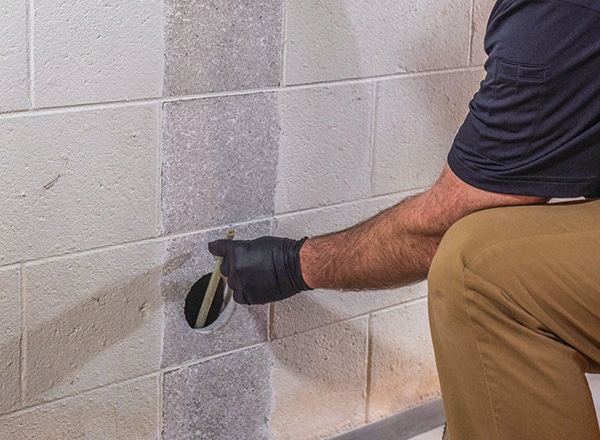
2. Base Connection
- Drill 1 1/2" diameter hole in CMU block 3 courses up from footing for each Carbon Fiber Support creating the base connection therefore eliminating shearing.
- Insert #4 CFS SupportBar 18” long through the hole created to top of existing footing.
- Manually fill block core solid with grout through hole created with rebar inside (Recommended product is: Commercial Grade Quickete Core Fill Grout-Coarse ASTM C 476 the 28-day strength is 3,000 psi not including rebar).
- When mixing grout maintain minimum of 8” slump adding 4 quarts of clean water for each 80lb bag and mix for approximately 5 minutes in a standard mortar mixer.
- One 80lb bag of Commercial Grade Quickete Core Fill Grout-Coarse will accommodate 2 Carbon Fiber Support base connections.
3. Surface Preparation
- Grind approximately 1/8” off block wall to provide clean smooth substrate, remove all pliable coatings on walls.
- Dustless grinding system is recommended that meets or exceeds OSHA standards.

4. Crack Fill
- Seal all cracks with a non-pliable product and level as needed.
- High strength non sag epoxy is needed to maximize bonding adhesion of Carbon Fiber Support (recommended CFS Epoxy Paste).
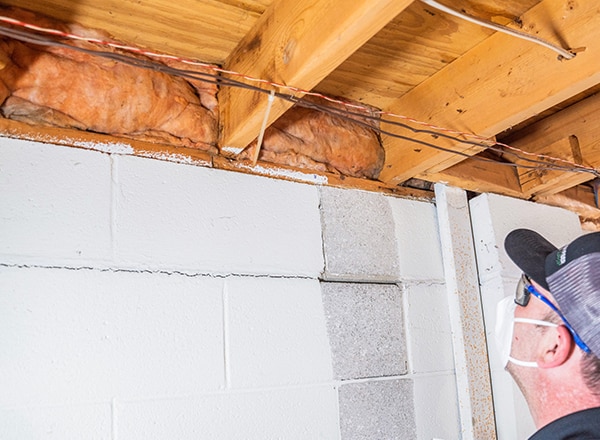
5. Install CFS SupportLock (Top Connection)
- Predrill sill plate for insertion of 2” lag bolts (trace holes from bracket for accuracy).
- Install bracket to sill plate DO NOT TIGHTEN.
- Loop +/- 12” of Carbon Fiber Support around 6” #4 CFS SupportBar on top of bracket feeding both ends behind the bracket to lock/anchor the carbon fiber in place. (see appendix A and B)
- Chemically bond Carbon Fiber Support to wall and bracket with CFS Saturant Structural Epoxy.
- Tighten 2” lag bolts on top bracket.
- CFS SupportLock (Top Connection) will prevent carbon fiber from pulling/shearing under pressure.
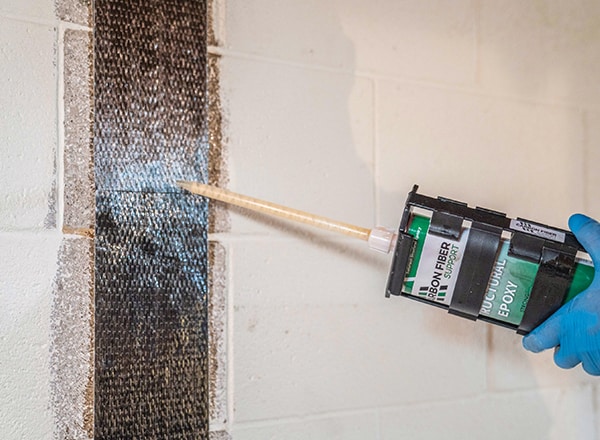
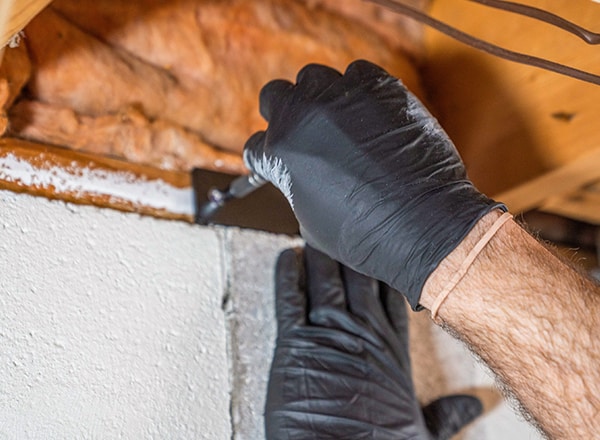
6. Apply CFS Saturant Structural Epoxy
- Apply epoxy resin onto concrete wall where carbon fiber is to be installed using vertical mortar joints as a guide.
- Completely saturate entire Carbon Fiber Support and foundation wall with CFS Saturant Structural Epoxy, using trowel, create even saturation along entire surface of carbon fiber and wall.